
Making a Box Drum - Part 2

Part #2- Route, Sand, Stain, Sand, Assemble, Play!
As I mentioned in my last post, I enjoy crafting hand-made, custom box drums called cajóns. If you missed the cutting and clamping and everything leading up to the last few steps, then you can find it here: Making a Cajón / Part 1
This last month I had two 2 separate orders from local friends who both wanted cajóns that were toned "American Walnut". The first cajón I stained with a very common walnut wood stain, and the video below shows me using that stain. However, I encountered a lot of issues during application with the consistency of the stain (not to mention the clean up). Because of a few other factors, I decided to order and try something new called "aniline dyes" for the second cajon. Below are mixed pictures from the recent drums with both types of finish. Let's just say I am now a huge fan of the dye.
Both box drums are finished and delivered, and they have now successfully joined the ranks of the others I have built previously. Check them out HERE

After removing the clamps I used my trim router to make all the edges perfectly flush

I then focused on sanding everything down to a nice smooth 220 finish

I then took a drum snare and cut it almost in half. These 2 pieces are then added to a wooden dowel

Here I attach the snare wires to a wooden dowel and then into a wooden paddle with a bolt through it. I reuse the circle I cut out from the back of the drum (so that you can't see through the slot I am about to cut into the side)

I then used my jig saw to cut out the curved slot for the adjustable snare

I then test everything out to make sure it works

Time for staining the wood! These painters pyramids are great for this step


The first cajon was stained with a standard American Walnut stain.
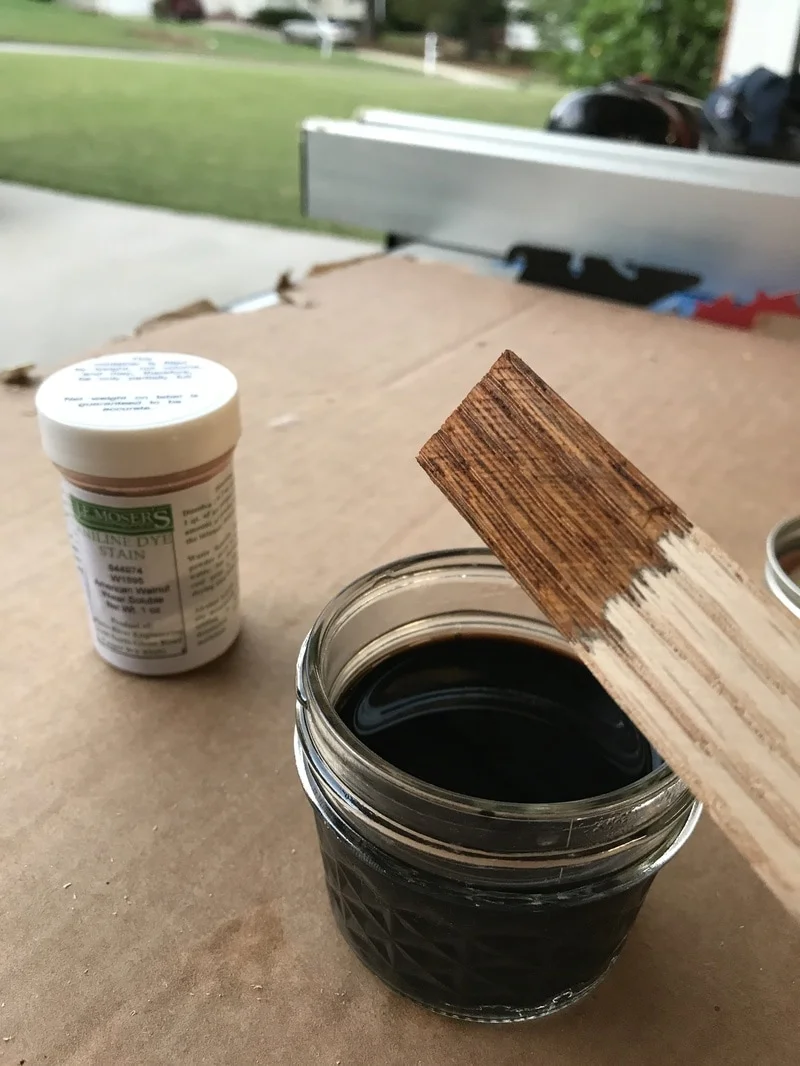
As I mentioned above, I tried using a walnut aniline dye on the second cajon. You just mix a bit into water and it's done!
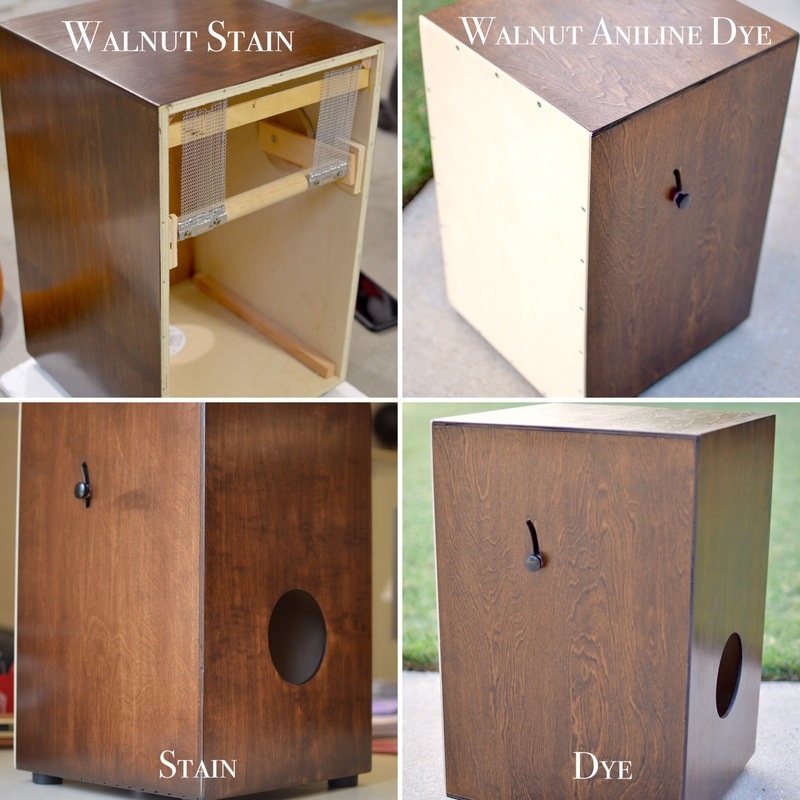
Can you tell which one was more consistent? In my opinion, it is definitely the dye

While the stain and clear coat dried, I used the opportunity to wood-burn a custom name on the tapa (front plate), add the adjustable snare, tapa, screws, rubber feet, and then deliver it to the customer!


